Creating a typewriting-effect in React.js
A simple brief guide

Developer and Technical Writer who enjoys building with JavaScript, Go, and modern frameworks. I write clear, hands-on tutorials to make complex tech simple.
In my previous article, I talked about how to create a typewriter using vanilla JavaScript and I promised to show my react.js folks how to do the same thing using React. Let get started 👇
Installing our react app
Before we start we need to install our react app
npx-create-react-app app
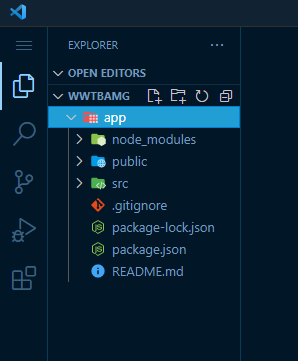
The code above will create a well-structured react app like this:
After this, we need to install a package called typewriter-effect inside the app folder we installed our react app into
npm install typewriter-effect
The code above will install the package and we can check our package.json file to confirm.
The next step involves us creating a JavaScript file inside our src folder to store the words we will be typing out let's name it mockdata.js. In this file we will be creating an array to store a string of words we will be typing out and then export it like the code below:
export const data=[
    "Design. Build.Improve.",
    "Develop. Rebrand. Initiate."
]
Creating our typewriter.js file
We will create a component folder in our src folder and then create a typewriter.js file inside the component folder. In the typewriter.js file we will create a React functional component and pass in a prop value text like the code below:
import Typewriter from 'typewriter-effect';

const TypeWriter = ({ texts }) => (
  <Typewriter
    options={{
      strings: texts,
      autoStart: true,
      loop: true,
      deleteSpeed: 70,
      wrapperClassName: 'head_tags'
    }}
  />
);

export default TypeWriter;
In the code below we needed to import Typewriter from the “typewriter-effect” unless we won't be able to create the typewriting effect. Also, we passed in an options object which takes in different values as explained below
The Options Object
Now let’s define the options we passed above
- String: The string option typically refers to the text/string to type out. It accepts a
Stringvalue. - autoStart: This simply entails whether to start typing or not. It accepts a
Booleanvalue and it works along with the string options in this case we set the value to true. - Loops: This simply entails whether to keep looping or not. It accepts a
Booleanvalue in this case we set the value to true. - deleteSpeed: This simply means the delay between deleting each character. It accepts a
Numbervalue. - wrapperClassName: This is simply the class name for the wrapper element. It accepts a
Stringvalue.
Importing our typewriter
The next step will be to import the function created in our previous JavaScript file to our App.js file.
import TypeWriter from "./typewriter"
After importing we can then use the Typewriter component inside our file like the code below:
<h4><strong><TypeWriter texts={data} /> </strong></h4>
Save and run your react app with the code npm start and you will have a sample like the below:

Conclusion
Congrats!!! You have successfully implemented a typewriter effect using the typewriter-effect package in react.


