Strapi is an open-source headless content management system (CMS) that enables developers to swiftly build custom APIs for their applications. With Strapi, you can define your data structures, create custom endpoints, and manage various API-related tasks. In this article, you'll walk through the process of creating a custom API with Strapi.
Prerequisites
Node installed.
Familiarity with using the terminal.
Getting Started
Installing Strapi
To create a new project using Strapi, you need to utilize the Strapi CLI (Command Line Interface). You can choose to use either yarn or npm as your package manager.
npx create-strapi-app@latest my-project --quickstart
Administrative Account
After running the above code, npm run develop will automatically run, and the Admin UI, as shown in the image below, will pop up. Fill out the details, create a password, and you will have an administrative account to use for logging in.

Creating APIs
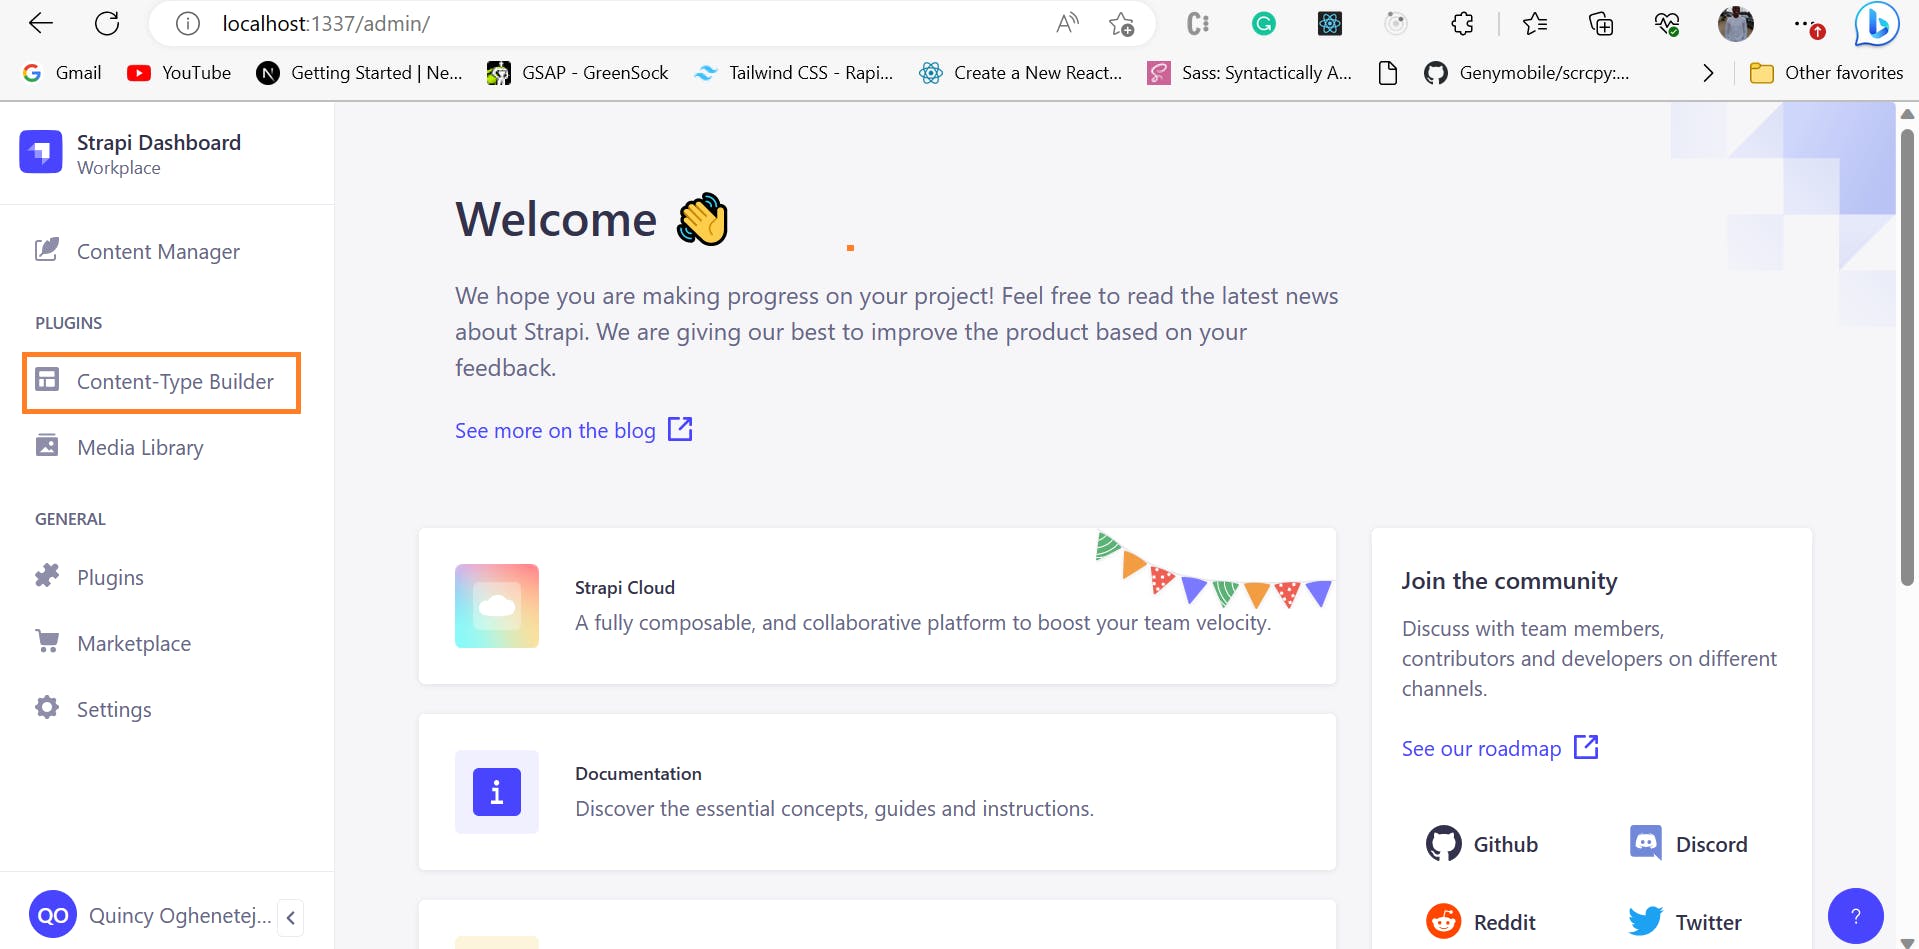
You can create APIs in Strapi using either the Strapi CLI or the Content-Type Builder from the Admin Dashboard.
Using the Strapi CLI
Creating APIs through the Strapi CLI can be accomplished with the following command:
npx strapi generate
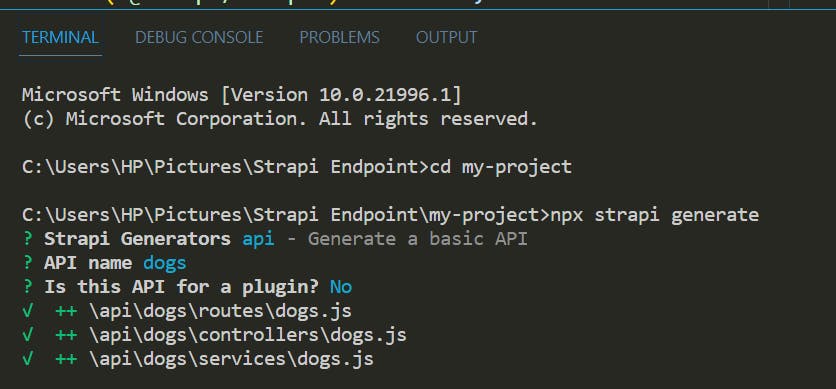
After running the command, you will have a series of different options to choose from, which you can select.
Below is an image illustrating the creation of an API using the Strapi CLI:

Using the Content-Type Builder
Creating content using the Content-Type-Builder plugin is another way of creating APIs in Strapi. The Content-Type-Builder plugin helps to create content by defining the types of content in Strapi, which represent the structure of your data. Strapi automatically generates RESTful API endpoints based on the defined content types. These endpoints allow you to perform CRUD operations (Create, Read, Update, Delete) on your data. You can access the API endpoints at /api/{content-type-plural}. For example, if you have a content type called article, the API endpoints will be available at /api/articles.

Customising the Endpoints.
While the auto-generated endpoints are useful, you can customise them to match your specific requirements.
There are two different ways of customising your endpoints:
Editing/Customising the Route file inside the Route folder.
Editing/Customising the Controller file inside the Controller folder.
Customising the Routes File
Strapi's powerful routing system allows you to define custom routes. You can modify the behavior of existing endpoints or create entirely new ones by adding routes in your Strapi project's ./api/{content-type}/routes .
///An example of customised code in a Route file
module.exports = {
  routes: [
    {
     method: 'GET',
     path: '/dogs',
     handler: 'dogs.exampleAction',
     config: {
       policies: [],
       middlewares: [],
     },
    },
  ],
};
Customising the Controller File
Strapi also provides controllers that handle the logic for processing incoming requests, performing operations on data, and sending responses. Customising the controller logic can be used to manipulate the data, handle authentication and authorization, and implement any additional business logic. You can modify your Strapi project's controller in the ./api/{content-type}/controllers directory.
///An example of customised code in a controller file
'use strict';
const {entityService} = require("@strapi/strapi").factories;
/**
 * A set of functions called "actions" for `dogs`
 */

module.exports = {
  exampleAction: async (ctx, next) => {
    try {
      const data = await strapi.entityService.findMany("api::product.product", {
        fields:["id","name","price"]
      })
      // ctx.body = 'Hello World this is Me creating a custom API';
      return data
    } catch (err) {
      ctx.body = err;
    }
  }
};
Conclusion
In this article, I have walked you through the various steps to create a Custom API Endpoint with Strapi, tailored to your specific requirements. With this knowledge, you can confidently work with Strapi to manage your content.
